No one knows exactly what school will look like in August yet, but there are a few things that we can do to get organized in the meantime. This series of blog posts called, "Getting Organized for #DistanceLearning" is full of tips that will be useful whether you're teaching online or face to face. So be sure to check back for all the tips in this series!
Tip #1 was Password Saver
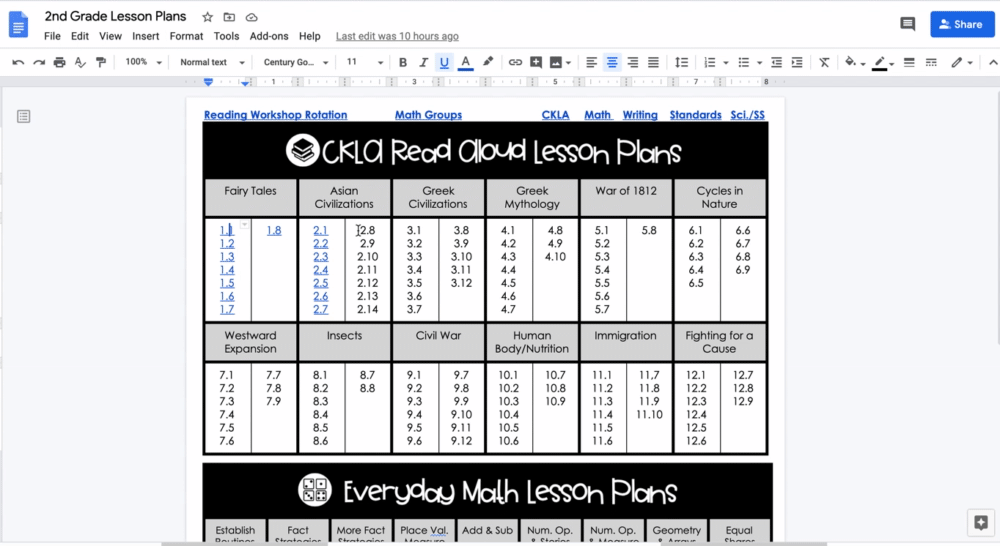
Tip #2 was Lesson Plan Templates and Hyperlinks
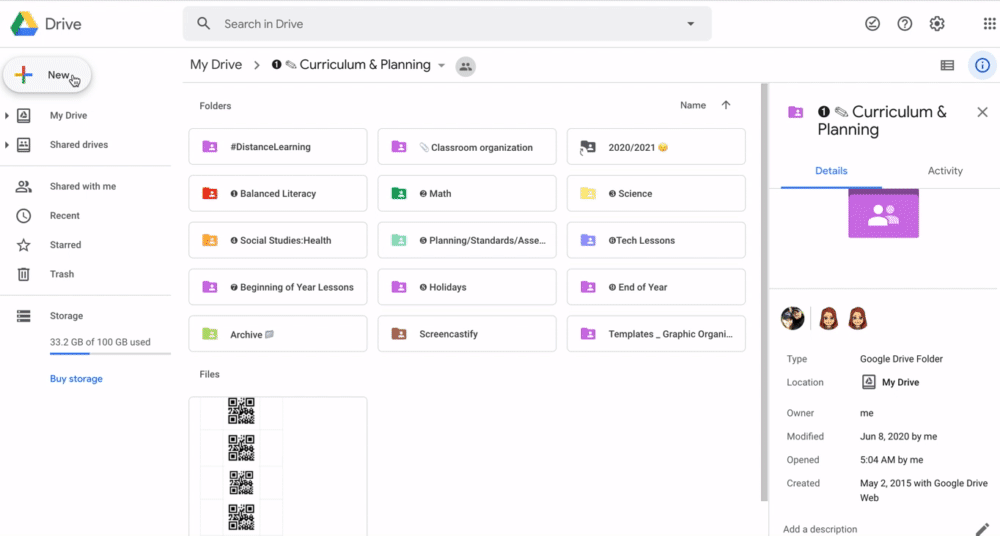
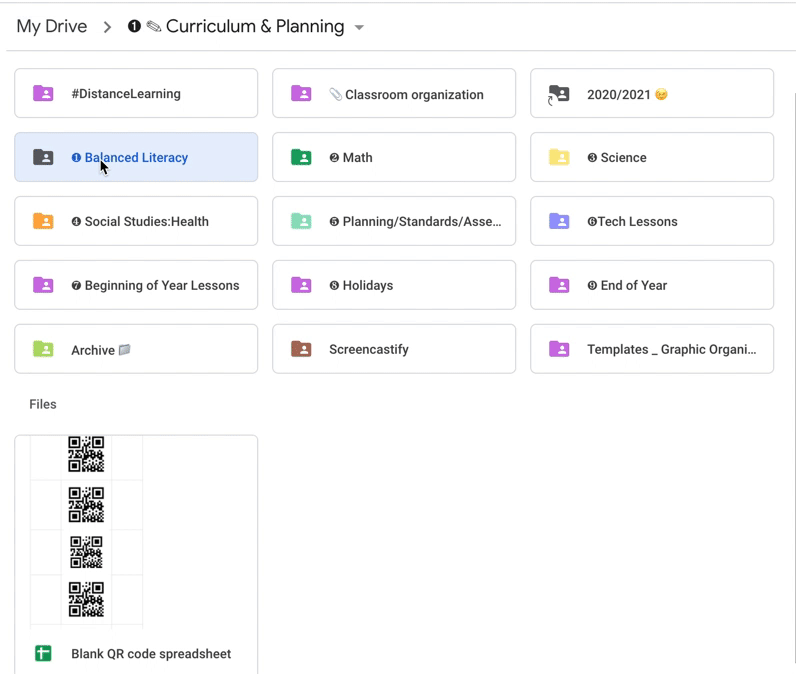
Tip #3 was Organize Your Google Drive
Here is your last tip in this series, tip #4 . . .
Plan Ahead for a Sub
So this is one of the aspects about next year that feels the most unknown to me. What if we do get sick? Whether we are sick with the common cold or COVID-19, this is going to have a huge impact next year. There will be no more, "I'm not THAT sick, so I'll just work through it." We've all done that –worked even when we didn't feel great because it's easier sometimes than making sub plans. I'm guessing those days are over. I'm trying not to worry about the fact that I don't have 14 days of sick leave (I'm starting in a new district this coming year), so if I were to get sick, how would I stay home for 14 days AFTER my symptoms were gone?
So without worrying about how the details will play out yet, we obviously need a plan. I'm not talking about full blown lesson plans for the day. I've seen people do that and it seems to be successful, but I'm not a huge fan of writing the actual plans now. I'd rather have students work on what we're actually doing in class if I'm gone rather than something totally different. Although in an emergency, I can see the need for that. Today, I'm talking about organizing a template in google drive.
Sub Plans in Google Drive

If you don't write your lesson plans in google drive already, now is the time. Ditch the Word document or paper. It is inefficient. You need a template that you can easily fill out with boxes that remind you of what you need when you're not thinking clearly. Most importantly, you need to be able to share your plans easily with your sub, your team, and the office. You will probably not be allowed back inside the building if you are sick, so in google drive you just hit share. Forgot to add something to your lesson plans? No problem! You can change or add something, and they see your changes immediately. You can even link websites and videos inside your plans. So here are the things you can set up right now:


- Master class list: Create a table, type in your students first and last names, and leave notes that will be important for the sub to know. Who is in special ed? Who is a second language learner? Who has allergies? You can print this list for the sub, but it's easy to make changes to your master list if you get a new student or one moves away.
- Attendance page: Copy and paste those first and last names into an attendance sheet that can be printed and sent to the office. I take attendance on the computer, but the sub doesn't have the ability to do that. Sometimes they're stuck sending a scrap of paper to the office, and that is not efficient for anyone. If you have a list made with your class name and grade, a place for the date, and the student names already typed in, your sub only needs to put a check mark next to any students that are absent.


3. Daily Schedule: Believe it or not, this is the number one thing I hear subs say they do not receive–the daily schedule! This is pretty important. Have a separate page that outlines your typical day. In a pinch your team can throw together some plans for you, but you will need to have your daily schedule ready to share.
4. Helpful Info: When subs travel from one building to the next, they may not know your room number, your extension, or even the name of your principal. Having this info ready for your sub can really help out. If a student pukes in class, the sub will need to know how to reach the janitor and your room number. If your sub has a question, it would be really nice to have the name and extensions of your teammates and the office manager. This is one of those pages you only have to fill out once for the year, but it can come in really handy for your sub.
5. Classroom Procedures: This is another page that only needs to be filled out and printed once, but it's really important for the sub to have. Each teacher does things just a little bit differently in his/her own classroom, so share your procedure for the bathroom, snack time, and classroom rewards.


6. Sub Plans: I recommend having a template for this. A box for each section of the day with a header for the time and subject, and a checklist at the end for materials the sub will need for that subject. This will help your sub, but it will make it SO much easier for you too. When you're putting things together for your sub, you can check the list of materials at the end to make sure you have gathered what you need. I have a plastic envelope for each subject that I put materials into. It makes things more organized for the sub, but it also helps me when I need to put things away once I get back.
7. Feedback: We always want to know how things went, so have a feedback form available for the sub. Nothing fancy, just make sure you leave room for what you need to know.
Taking the time to get organized for a sub will be worth it. I did this last year, and I got SO much positive feedback from the subs in my classroom. They were all happy to come back and sub for me, and that makes a big difference. We have had a sub shortage in my district for a few years, and there have been many times that we had to split our classes or pull an intervention teacher to cover the class. Next year it is going to be imperative to have good subs available, so we need to take care of them.
If you don't want to make your own template, I do have all the pages you see in this post available in my TpT store as an editable google doc. You can find it here.
I hope these tips help you get started organizing for #DistanceLearning. Don't forget to check out all the tips in this series. It's a good place to start:
Tip #1 was Password Saver
Tip #2 was Lesson Plan Templates and Hyperlinks
Tip #3 was Organize Your Google Drive
There are a lot of unknowns, which can cause some anxiety, but it's going to be okay. We'll figure it out! Take some time to just relax this summer, and good luck this coming school year!